> ## Documentation Index
> Fetch the complete documentation index at: https://zuperinc-section23.mintlify.site/llms.txt
> Use this file to discover all available pages before exploring further.
# Building a workflow
Workflows allow you to automate processes by defining steps triggered by specific events. Follow these steps to build a workflow:
## Create a workflow
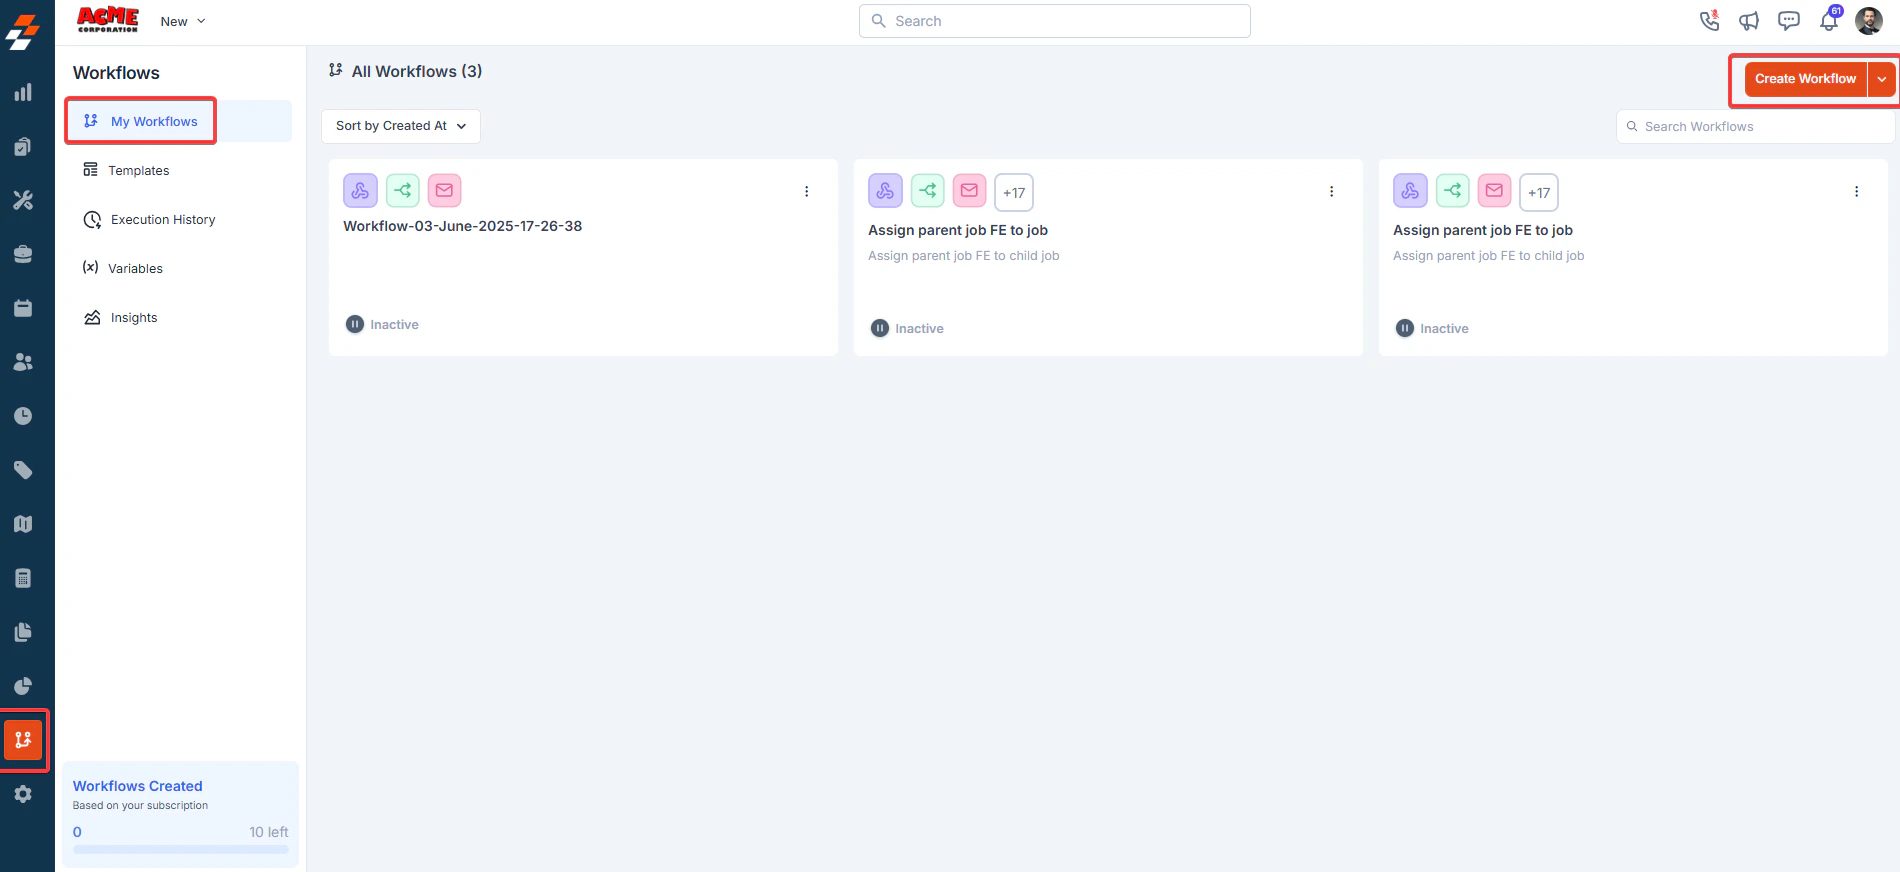
1. Access the Workflow Builder
* Navigate to the Workflow section in the Zuper dashboard.
* Click "**Create Workflow**" to start.
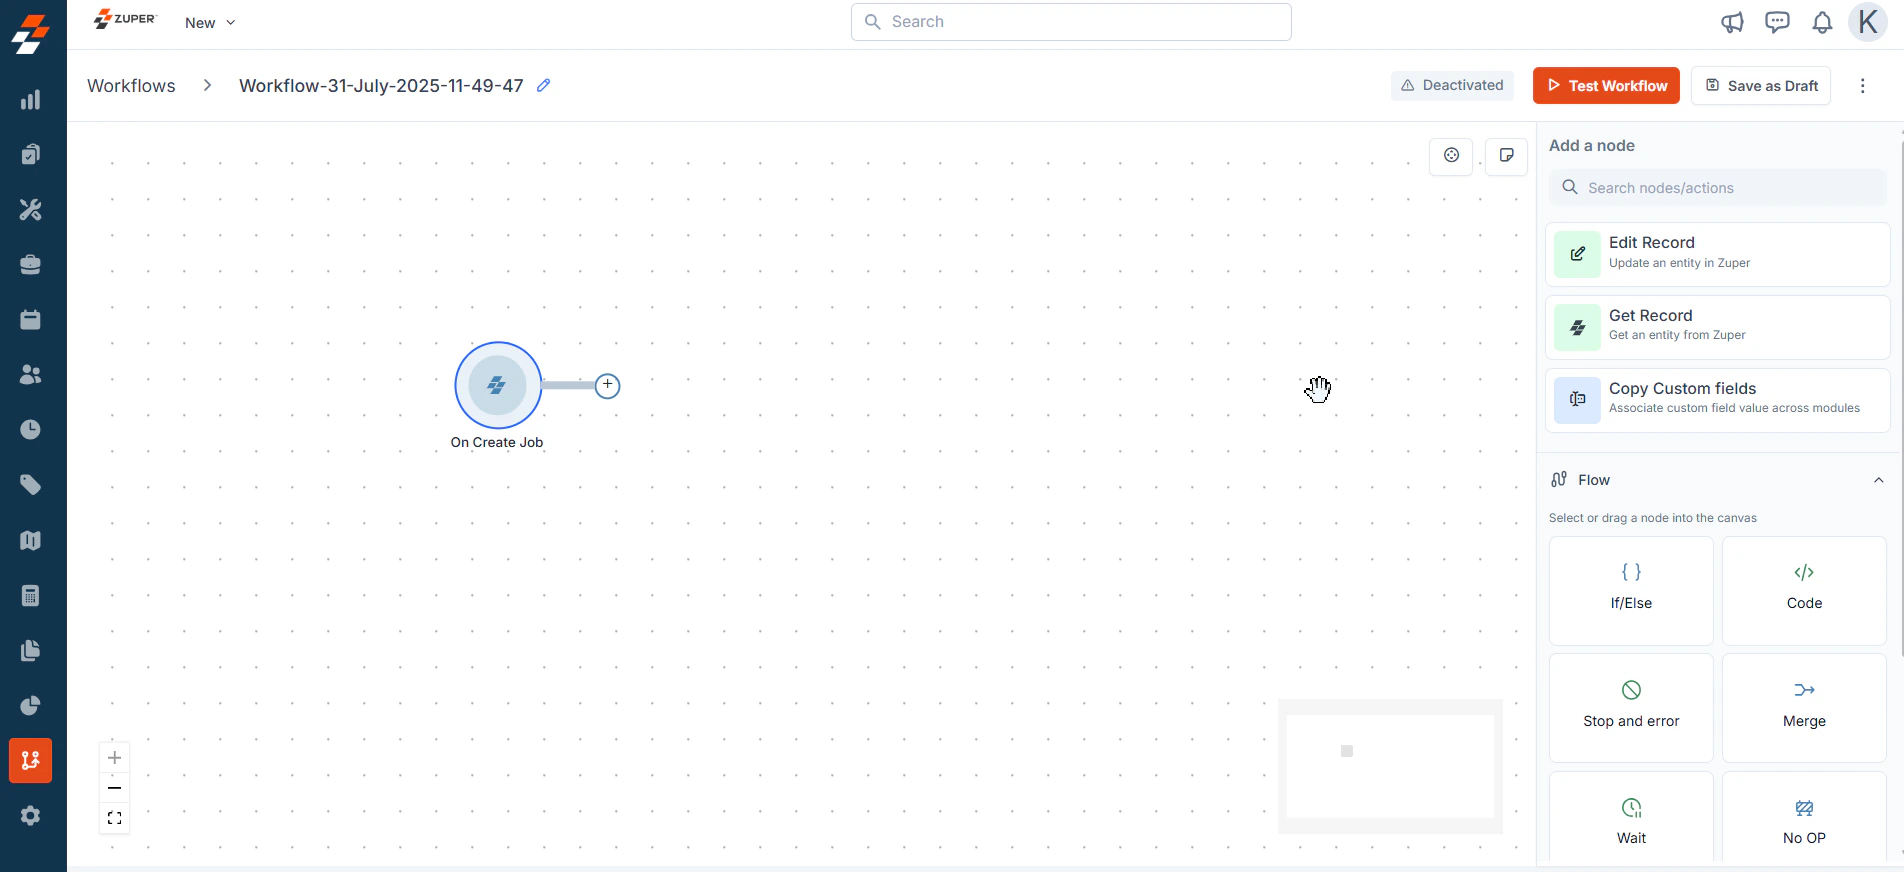
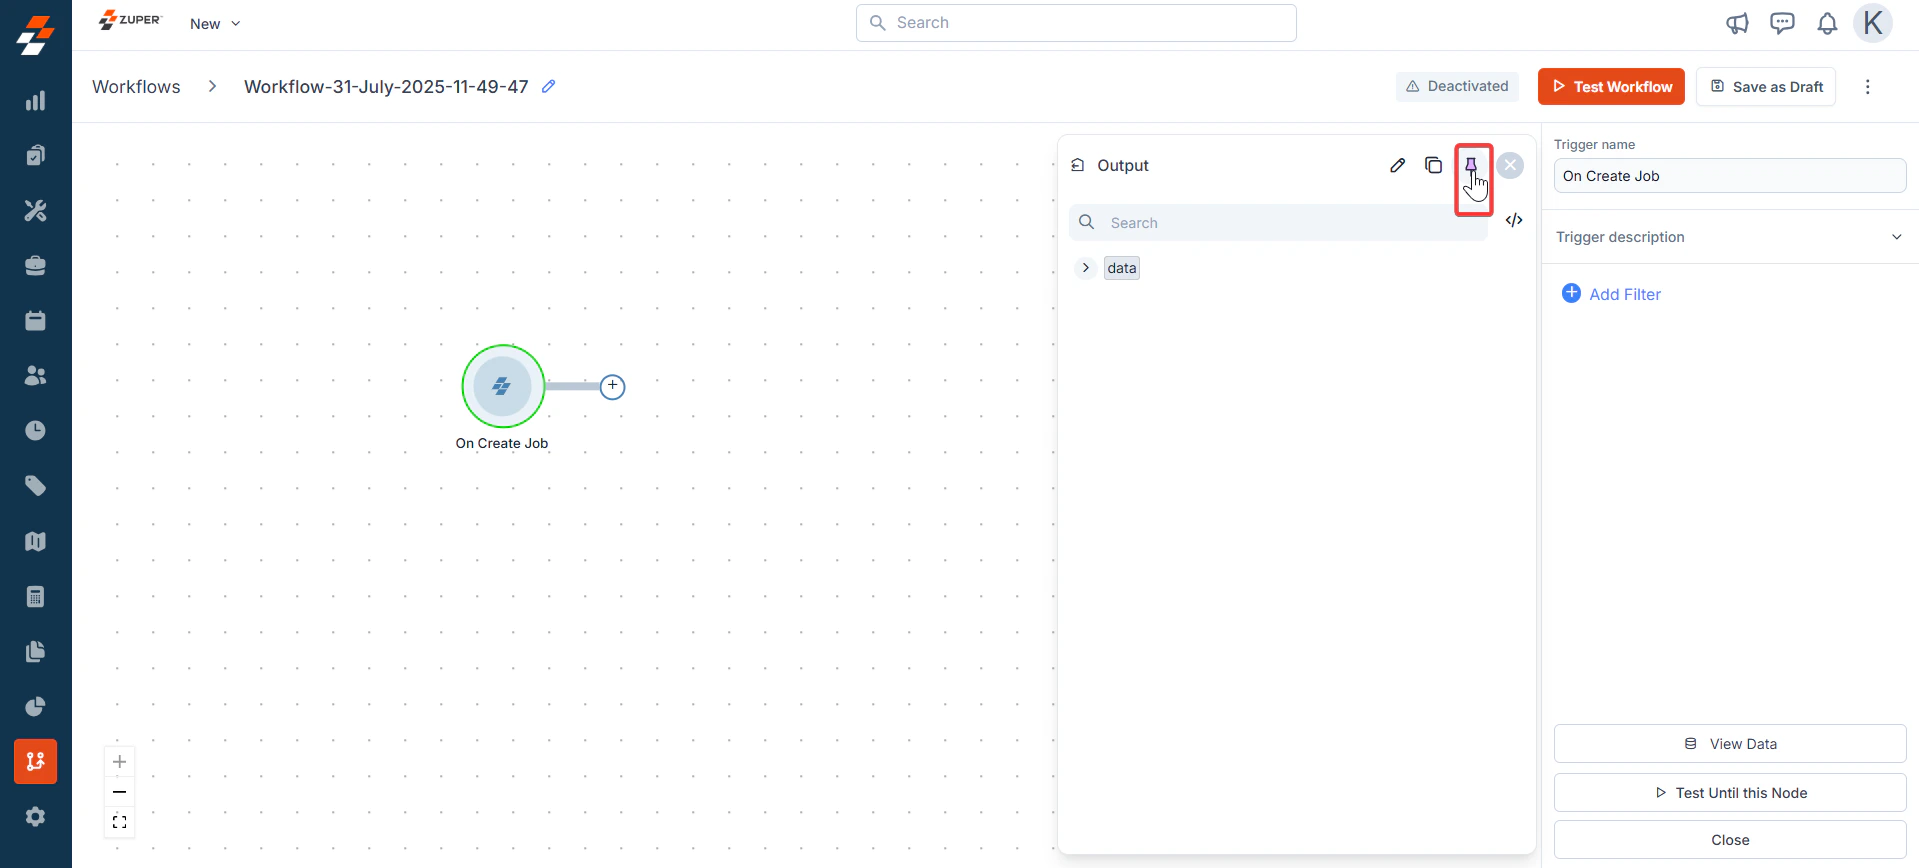
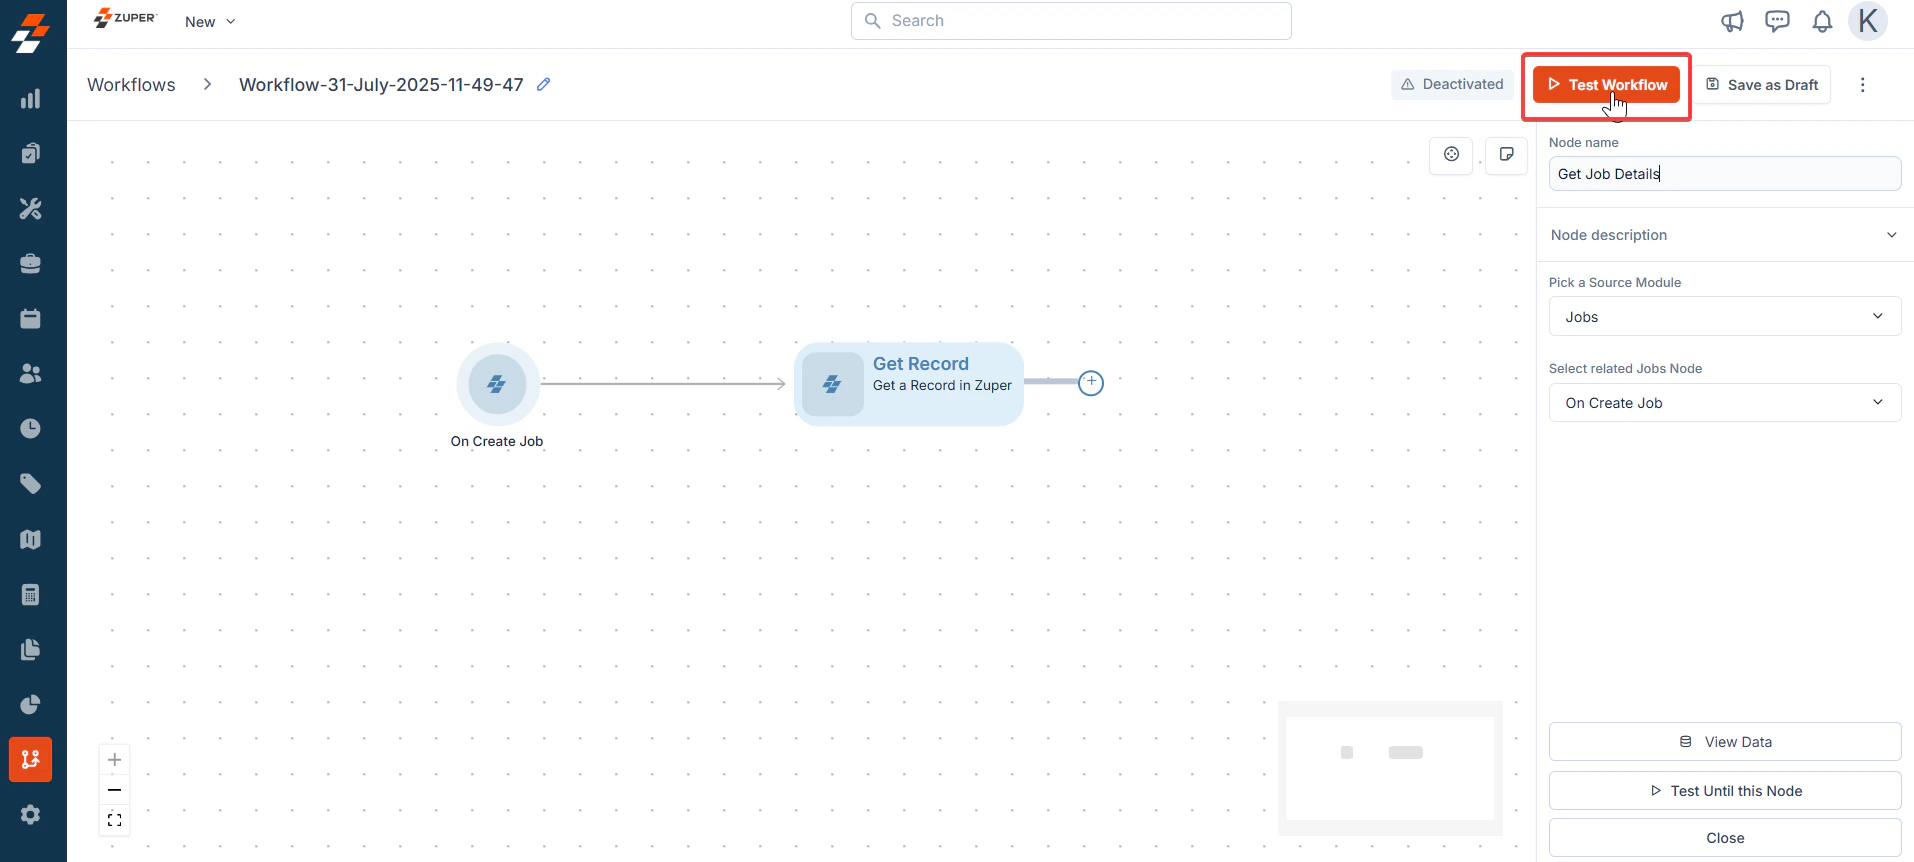
 2. Define the Trigger
* Select an event-based trigger and choose the "**On Create Job**" trigger.
2. Define the Trigger
* Select an event-based trigger and choose the "**On Create Job**" trigger.
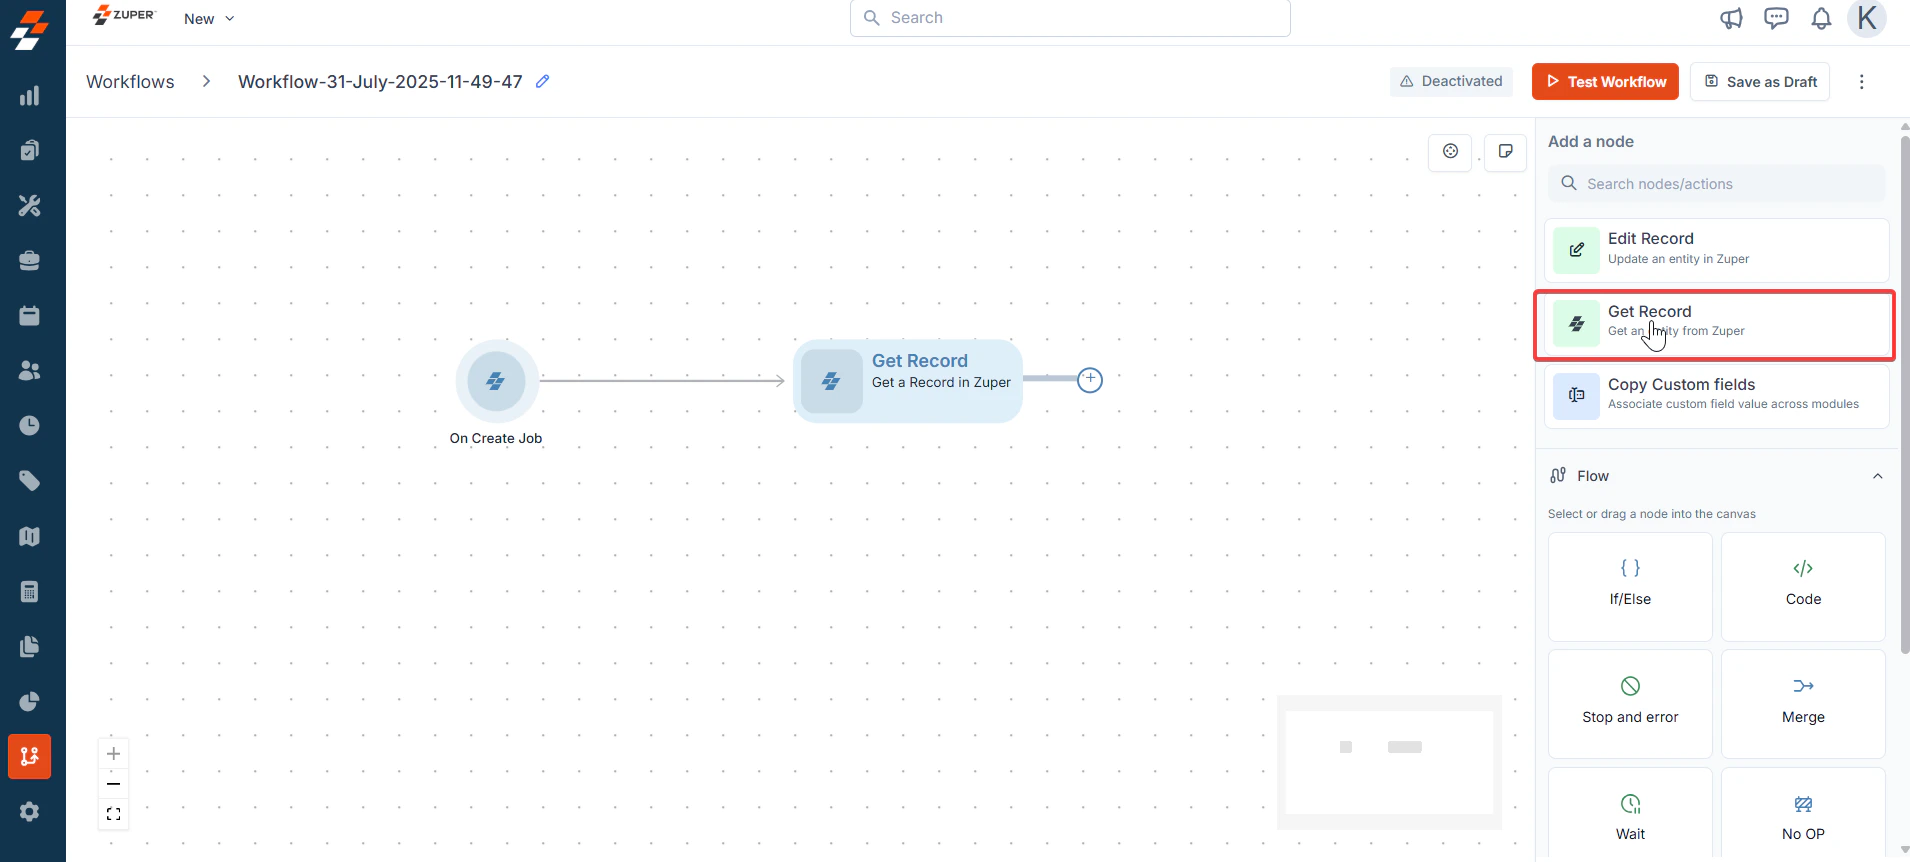
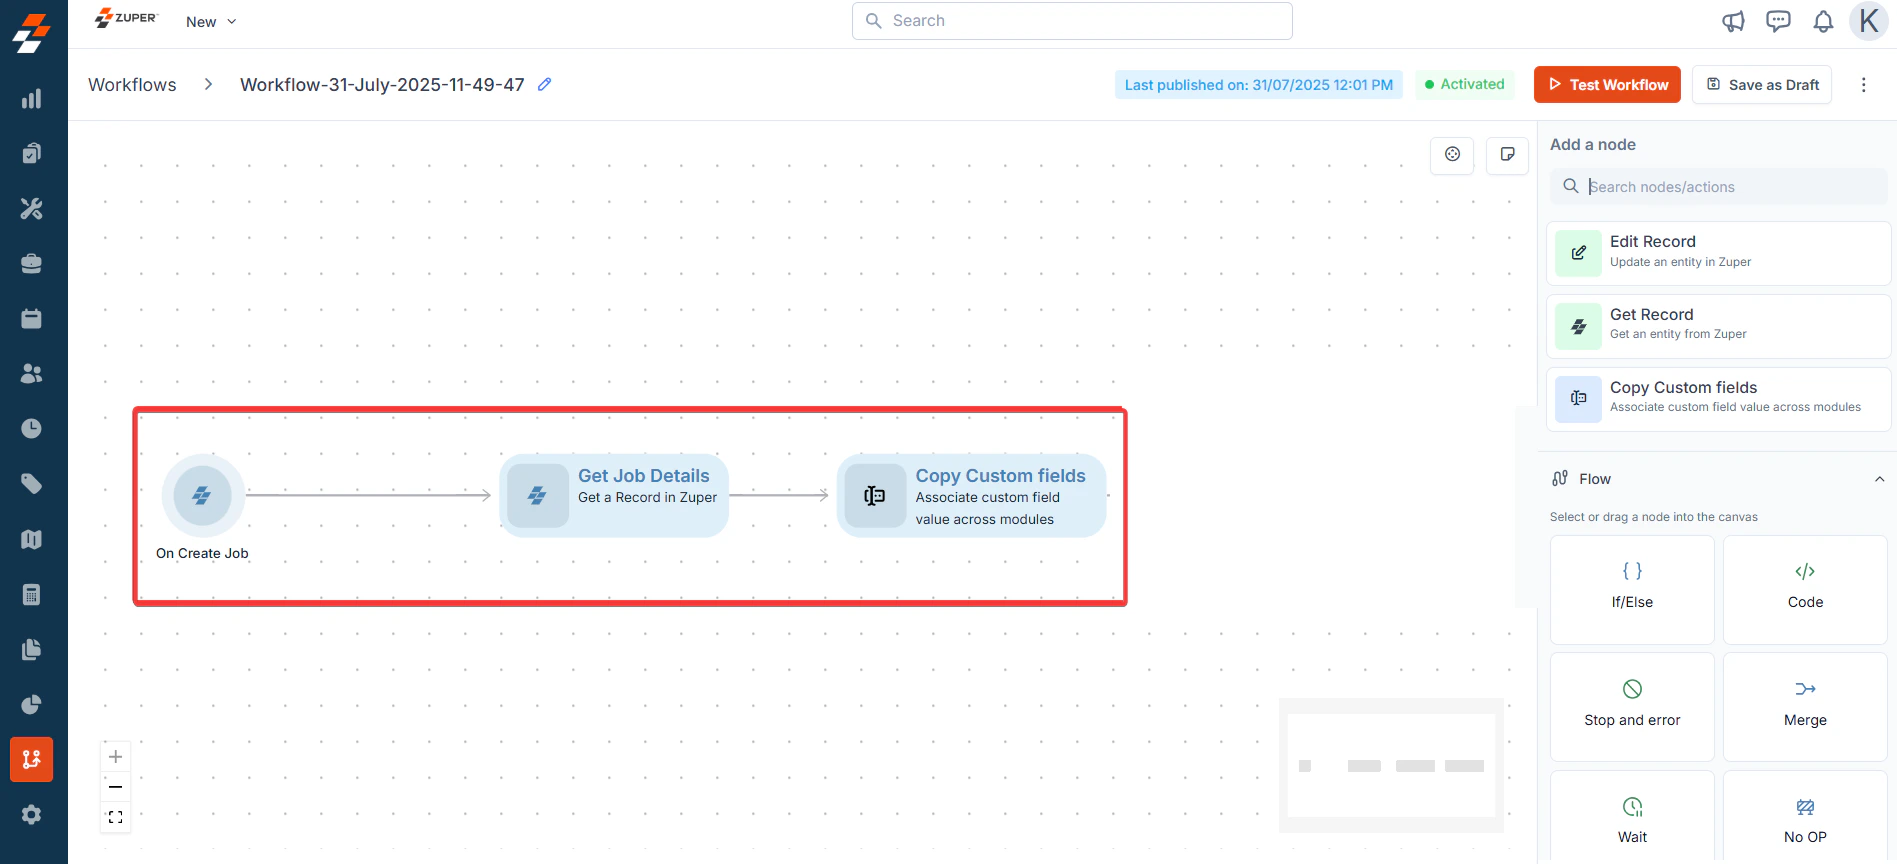
 3. Add Flow Steps
* Get Record: To get the complete information about the jobs.
3. Add Flow Steps
* Get Record: To get the complete information about the jobs.
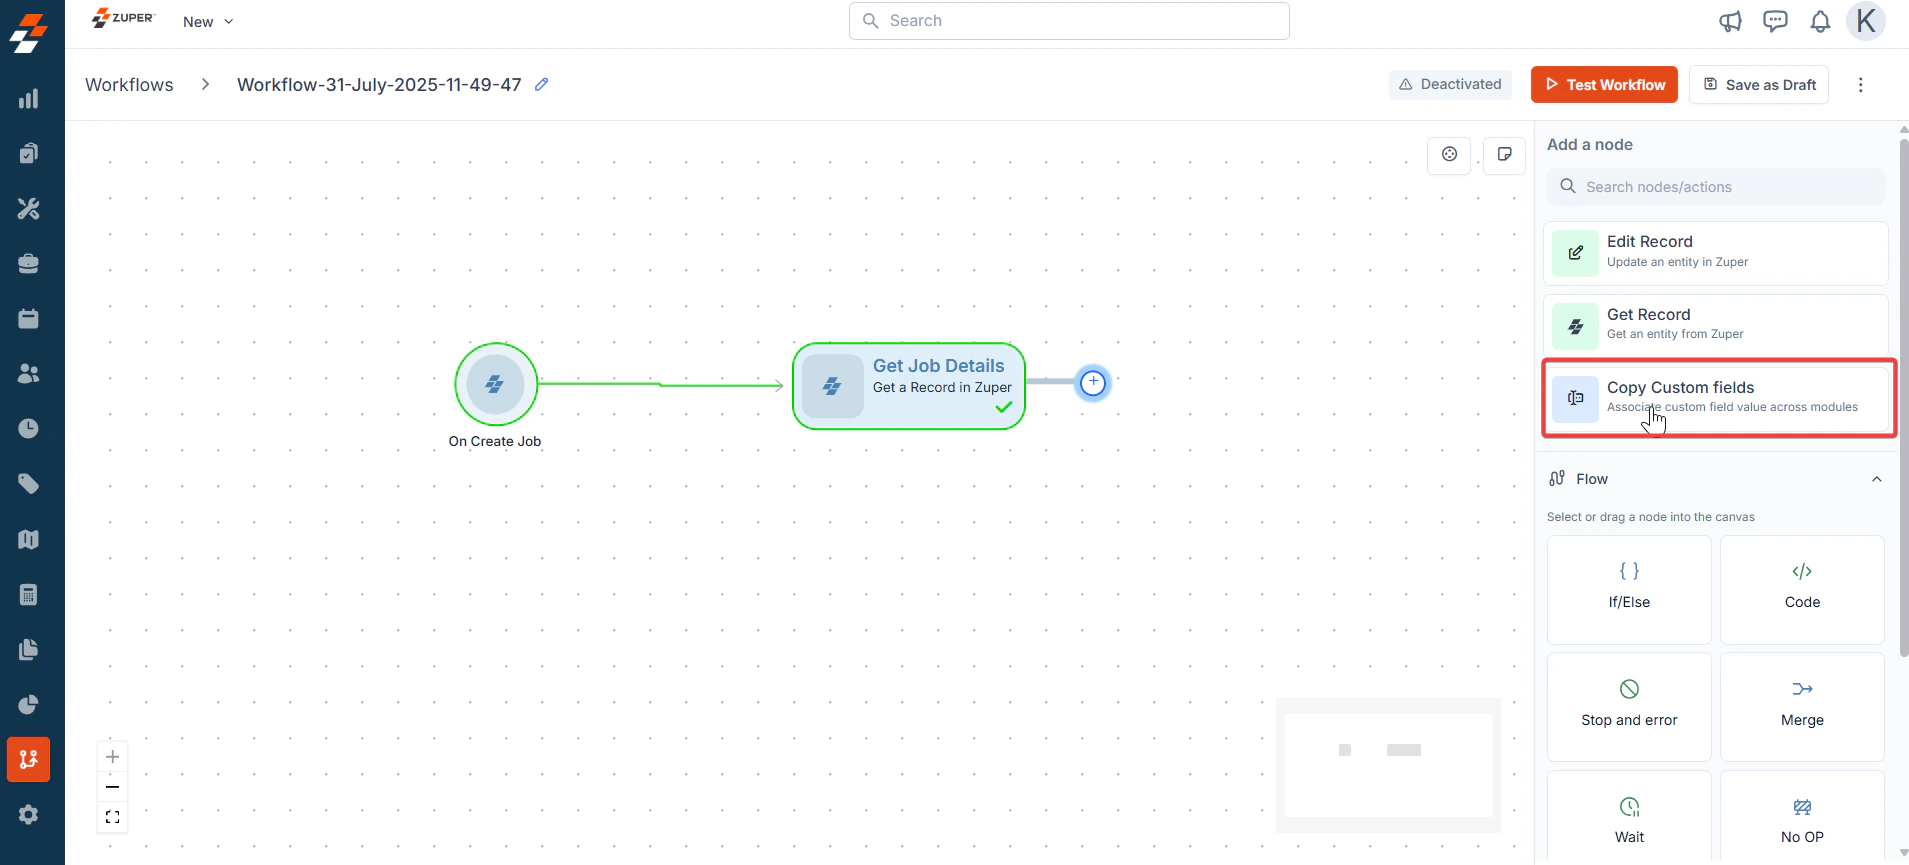
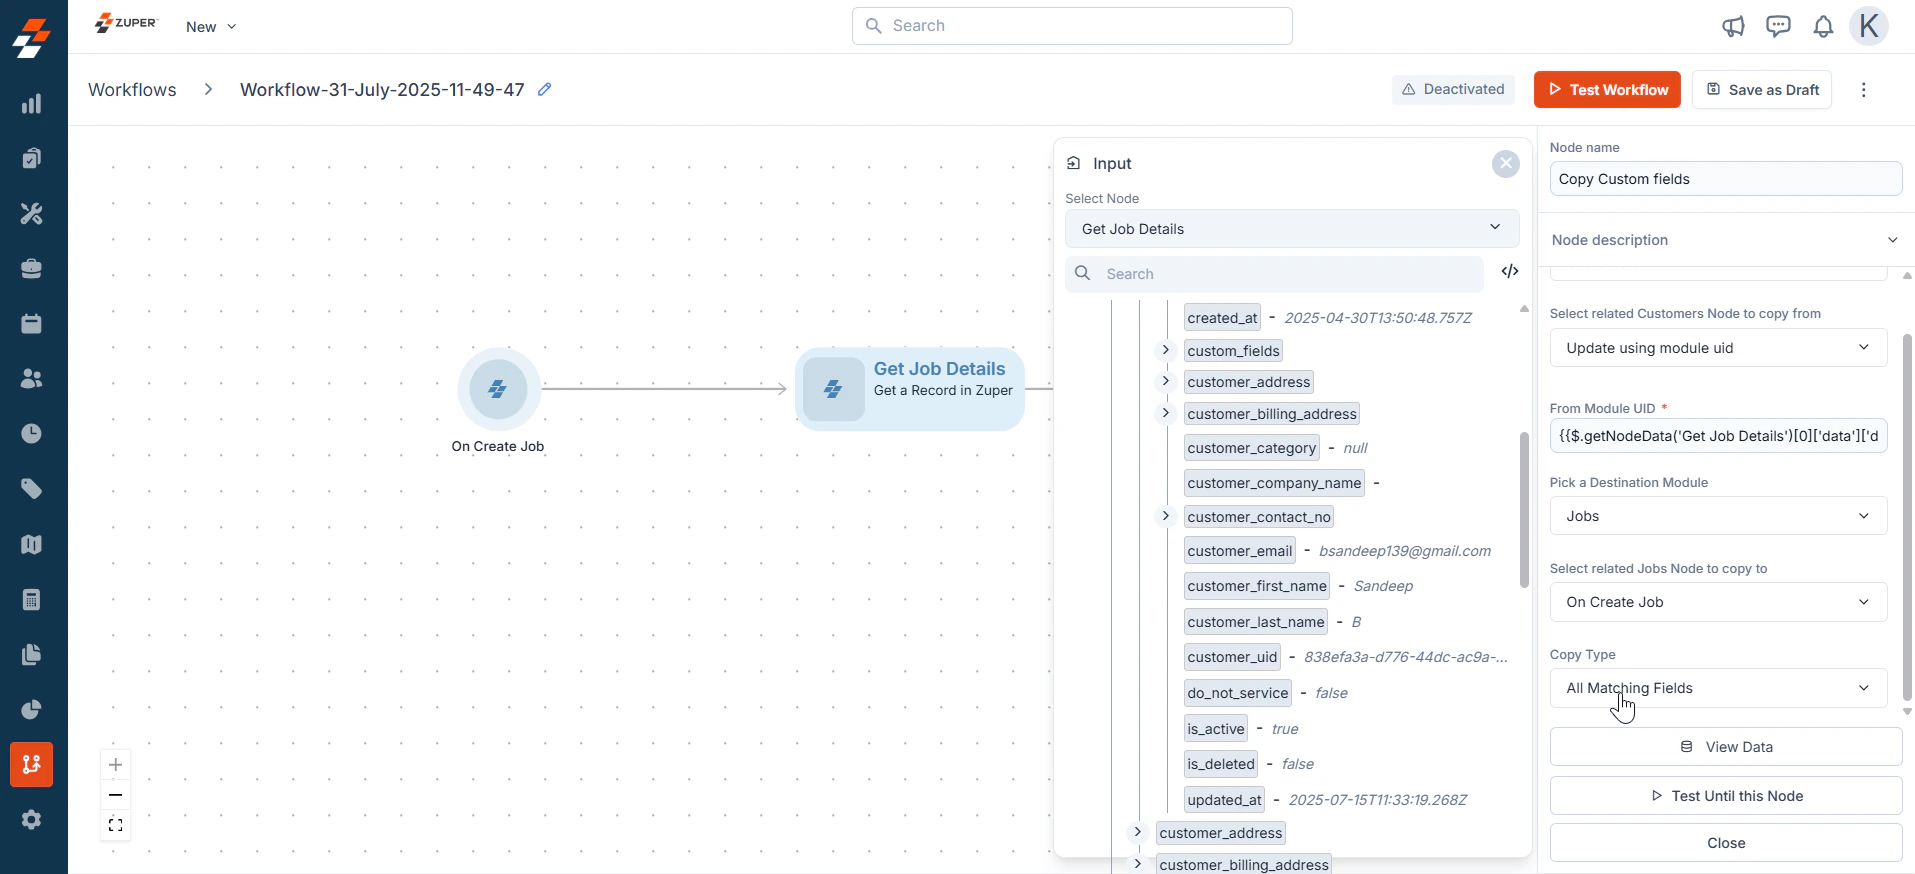
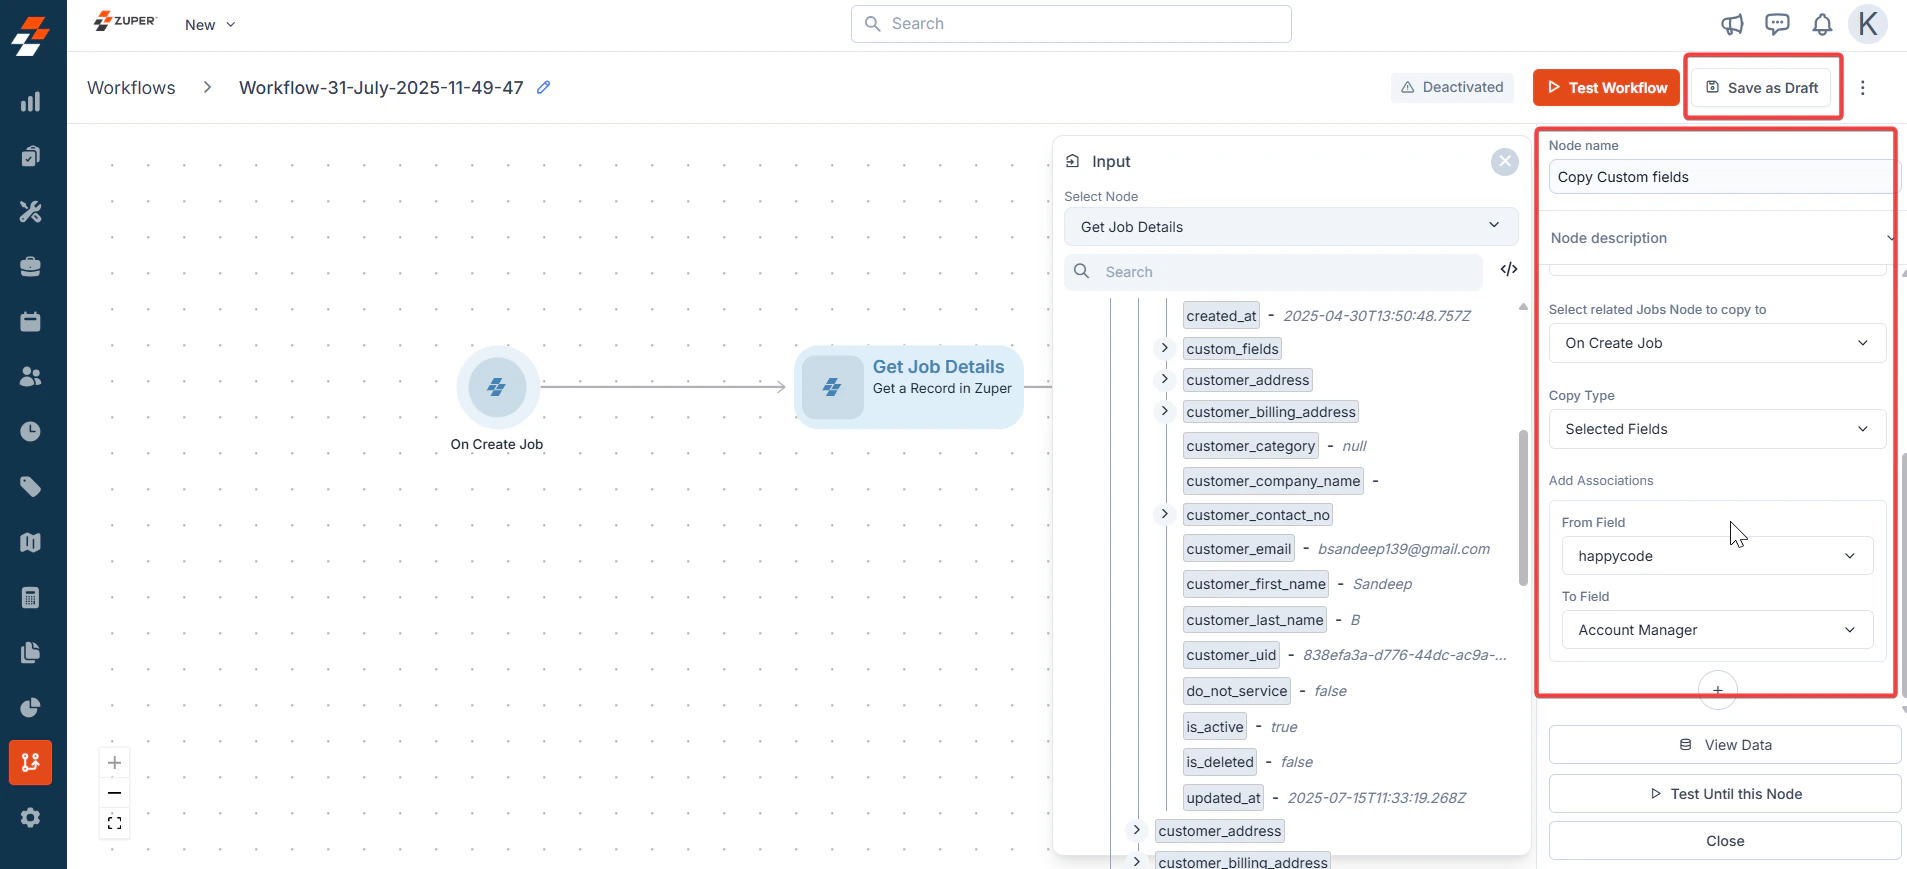
 4. Copy Custom Fields
You can copy and add the customer's custom fields to the jobs module by mapping the appropriate options in the form's fields.
4. Copy Custom Fields
You can copy and add the customer's custom fields to the jobs module by mapping the appropriate options in the form's fields.
 5. Choose the “**Customer Uid**” and map the fields to get copied from the Jobs module to the customers module.
 6. Click “**Save as draft**.”
 ## **Testing a Workflow**
Testing ensures your workflow executes as intended. Follow these steps:
1. If test data is already pinned, it reuses the pinned data. Pinning lets you reuse input data for future test executions.
If the data is not pinned, it links to the live data, and once it is executed, we can pin the data to reuse it for testing.
## **Testing a Workflow**
Testing ensures your workflow executes as intended. Follow these steps:
1. If test data is already pinned, it reuses the pinned data. Pinning lets you reuse input data for future test executions.
If the data is not pinned, it links to the live data, and once it is executed, we can pin the data to reuse it for testing.
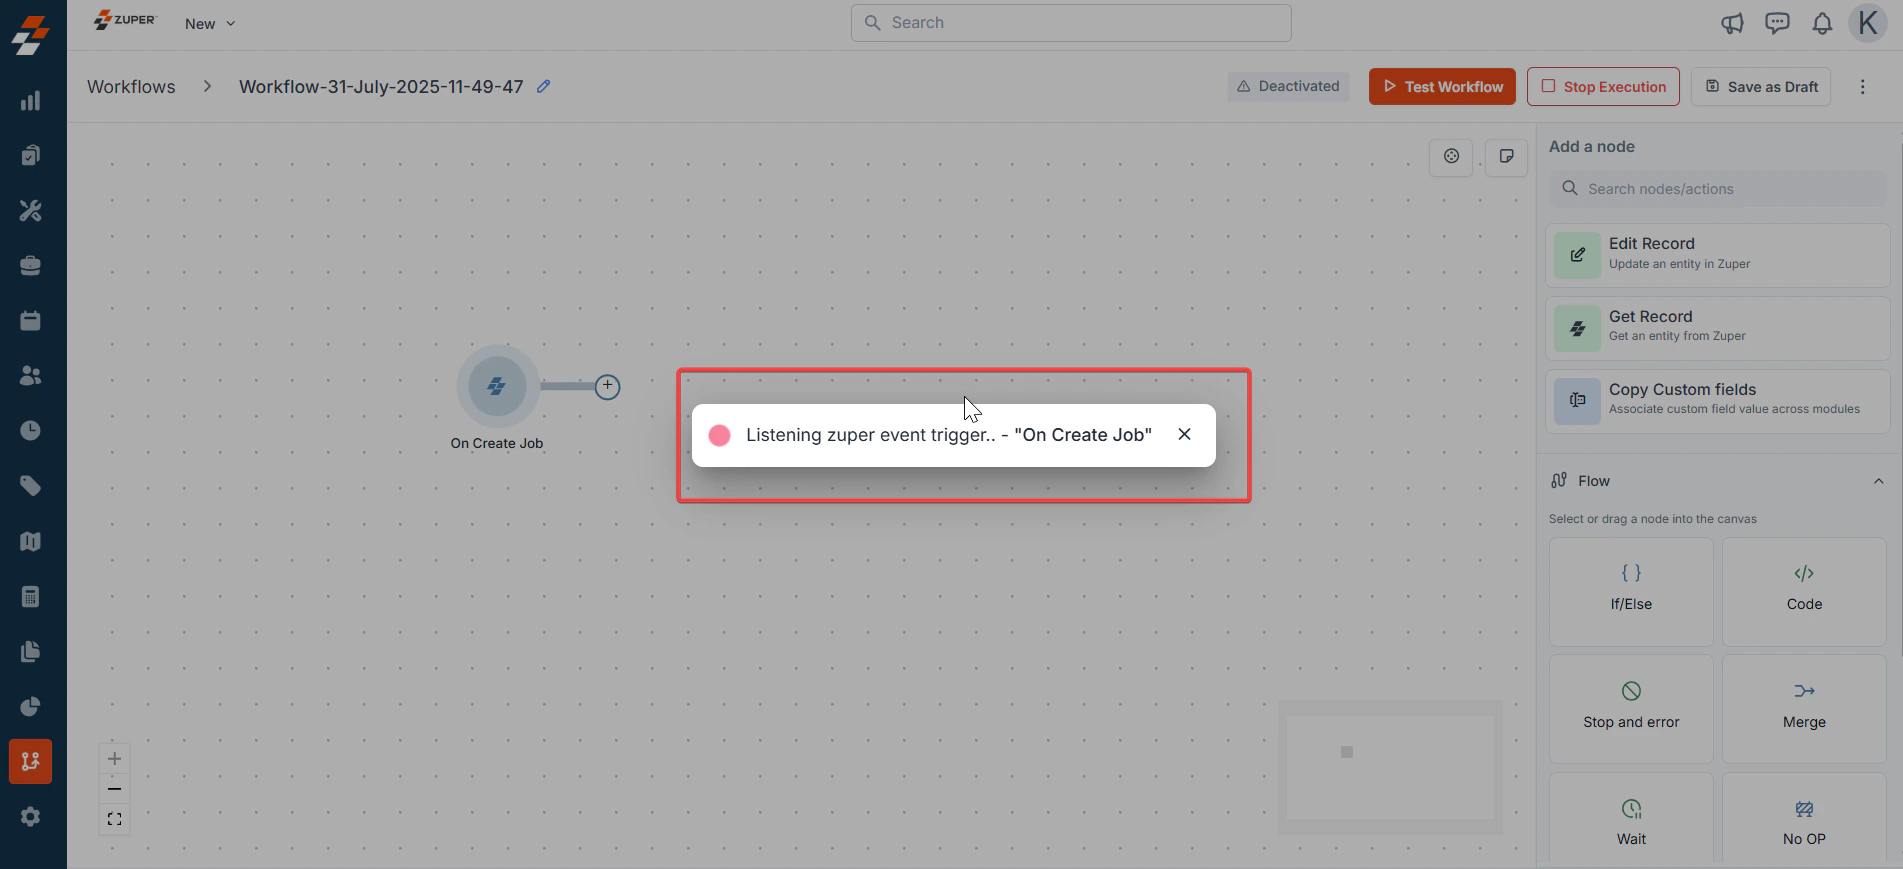
 2. Initiate Test Mode
* Open the saved workflow and click "**Test Workflow**".
2. Initiate Test Mode
* Open the saved workflow and click "**Test Workflow**".
 ## **Activating a Workflow**
Click the “**More Icons**” icon to choose “**Save and Publish**.”
## **Activating a Workflow**
Click the “**More Icons**” icon to choose “**Save and Publish**.”
