- Proof of work and accountability: A before/after comparison makes it easy to demonstrate what changed on-site, helping validate completion and reduce disputes.
- Better customer communication: Customers can quickly understand the outcome without having to read long notes, which improves trust and satisfaction.
Navigation: Jobs → open a Job → Gallery → select 2 images → Before & After
Job -> Gallery (Gallery tab highlighted in the bottom action bar)
Create a Before & After
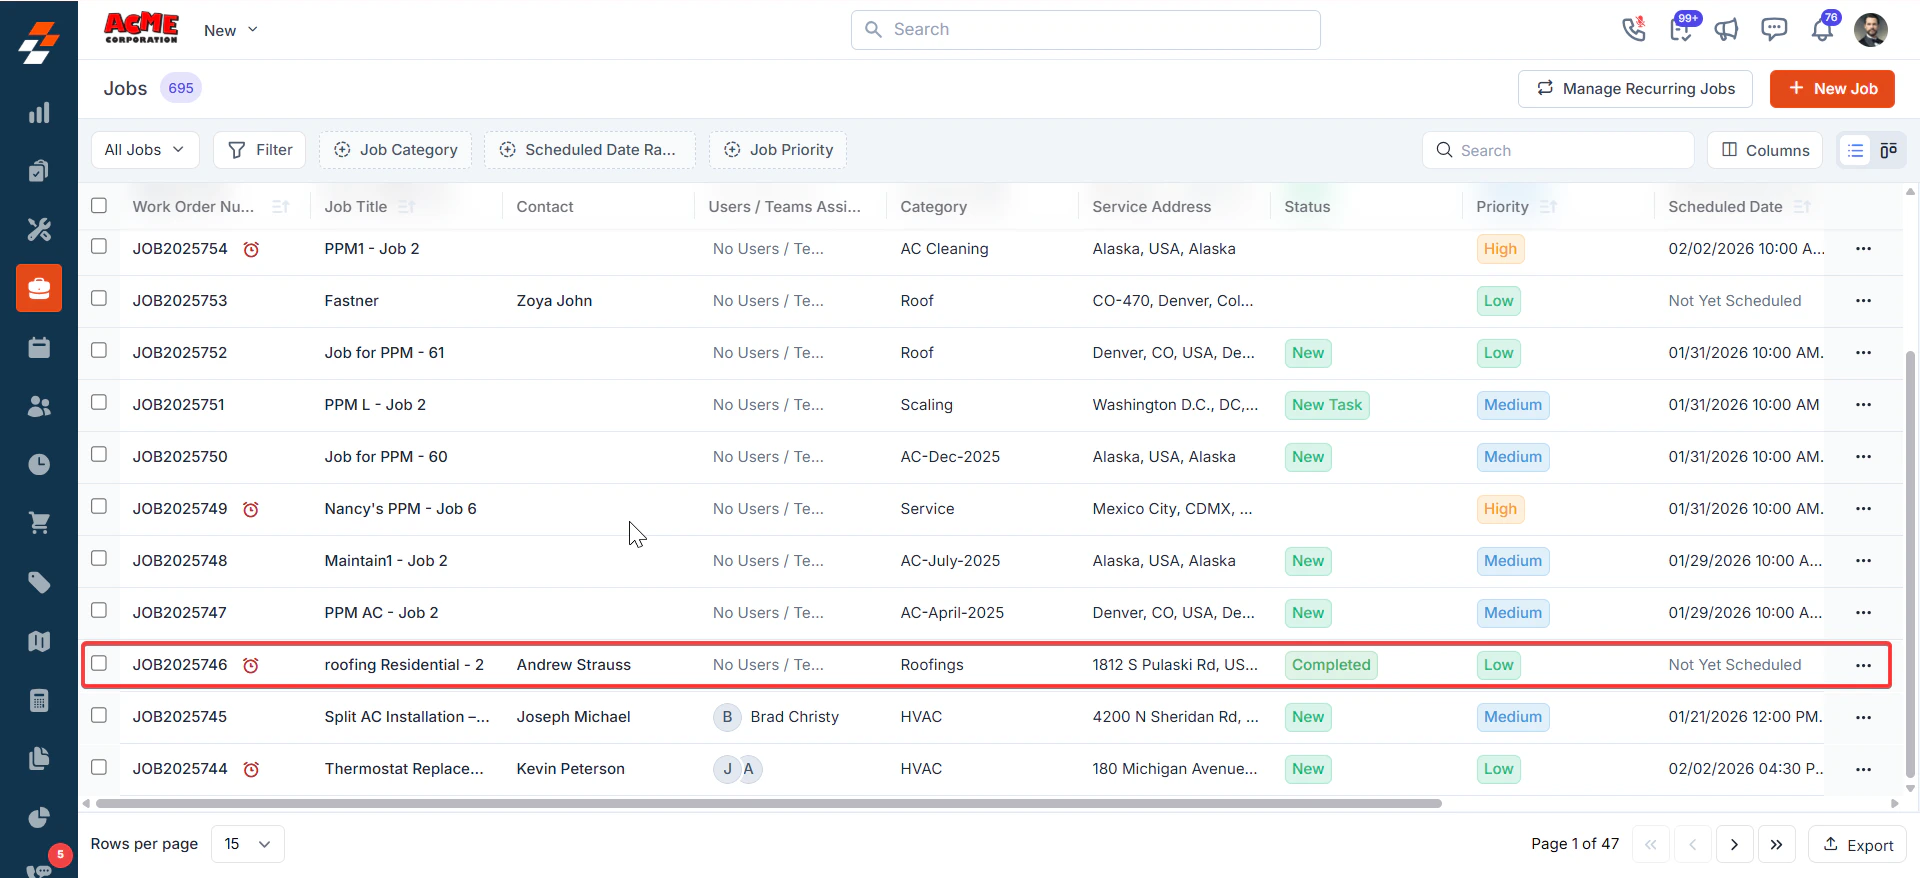
- From the left navigation menu, select the job to open the job details page.
- Click the Gallery in the left tab. Select exactly two images (use the checkbox on each image tile). A bottom action bar appears showing the selected count.
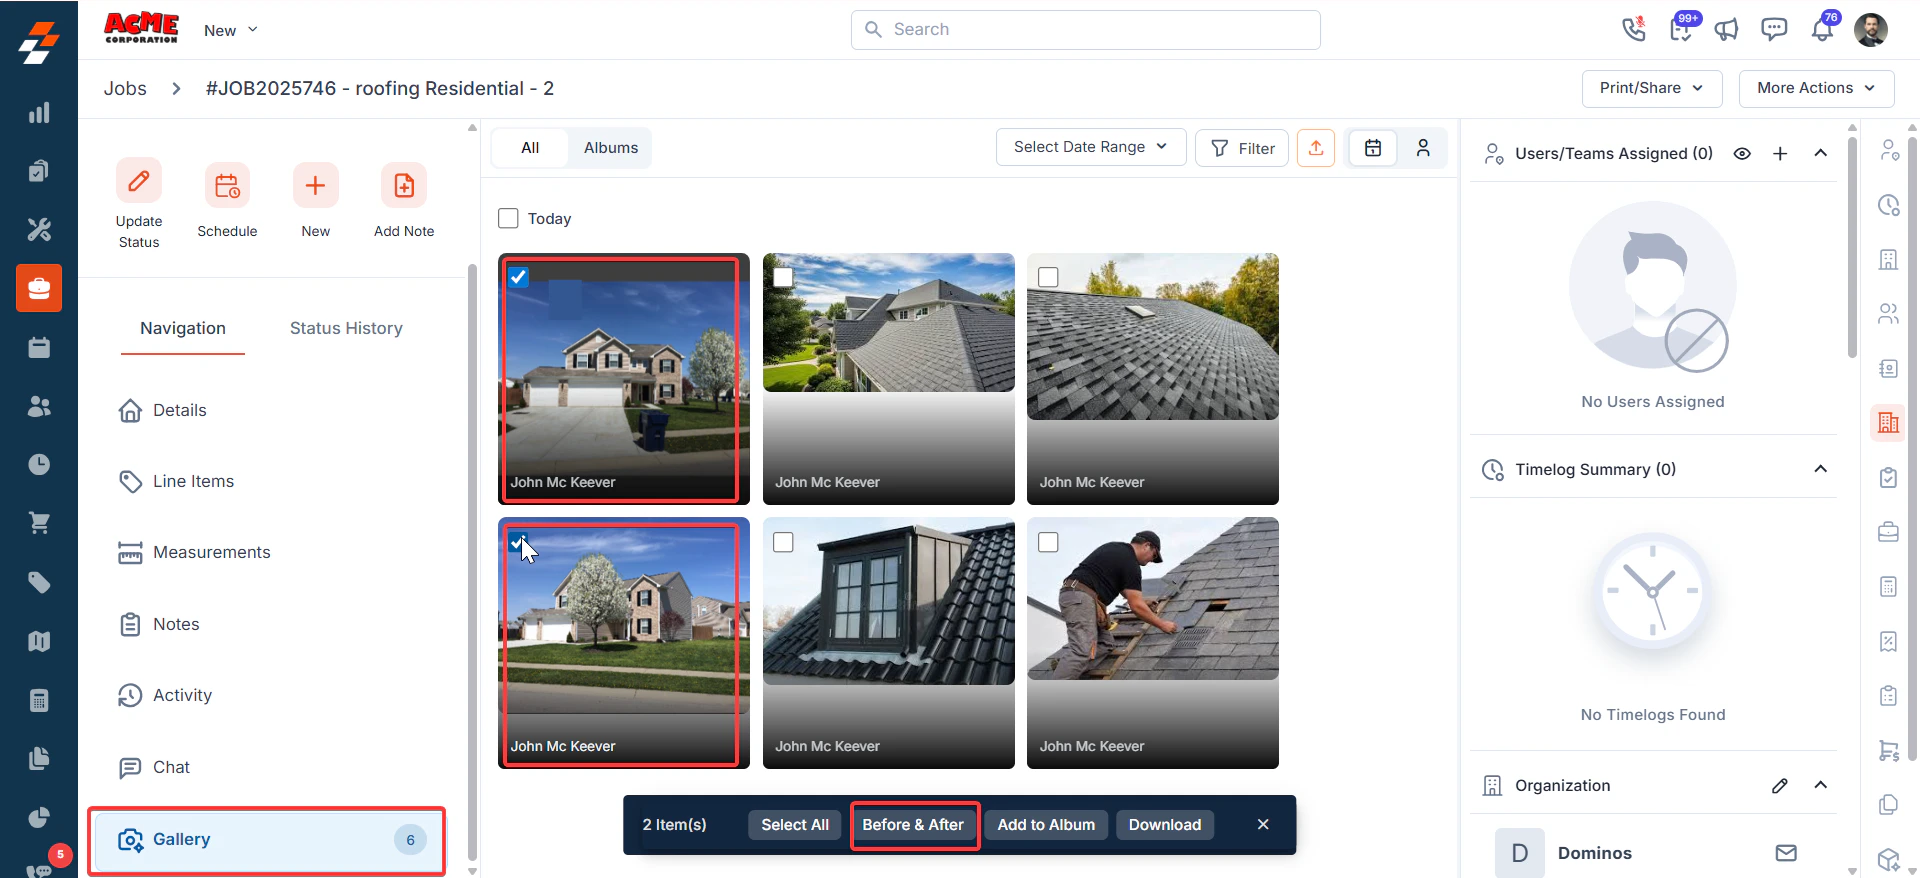
- Click Before & After on the bottom action bar to open Before & After Studio.
Edit in Before & After Studio
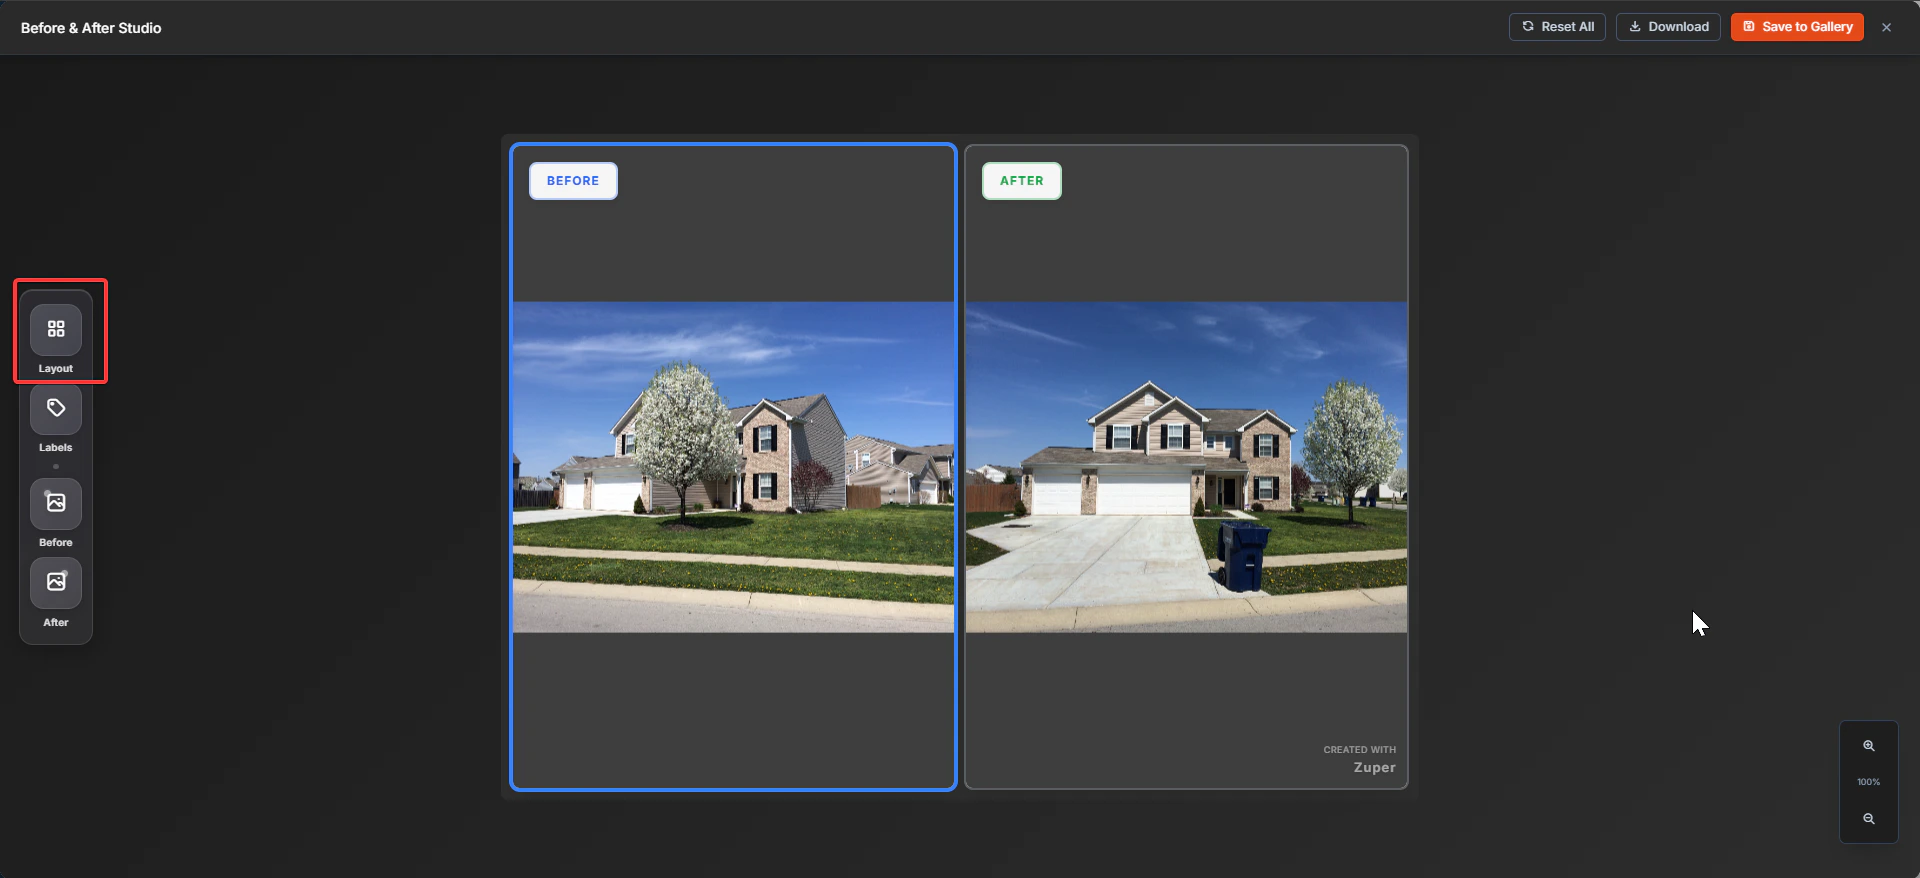
In Before & After Studio, you’ll see the two frames: BEFORE and AFTER. Use the left toolbar to customize the output. Change layout- Click Layout.
- Side by Side View, or
- Top & Bottom

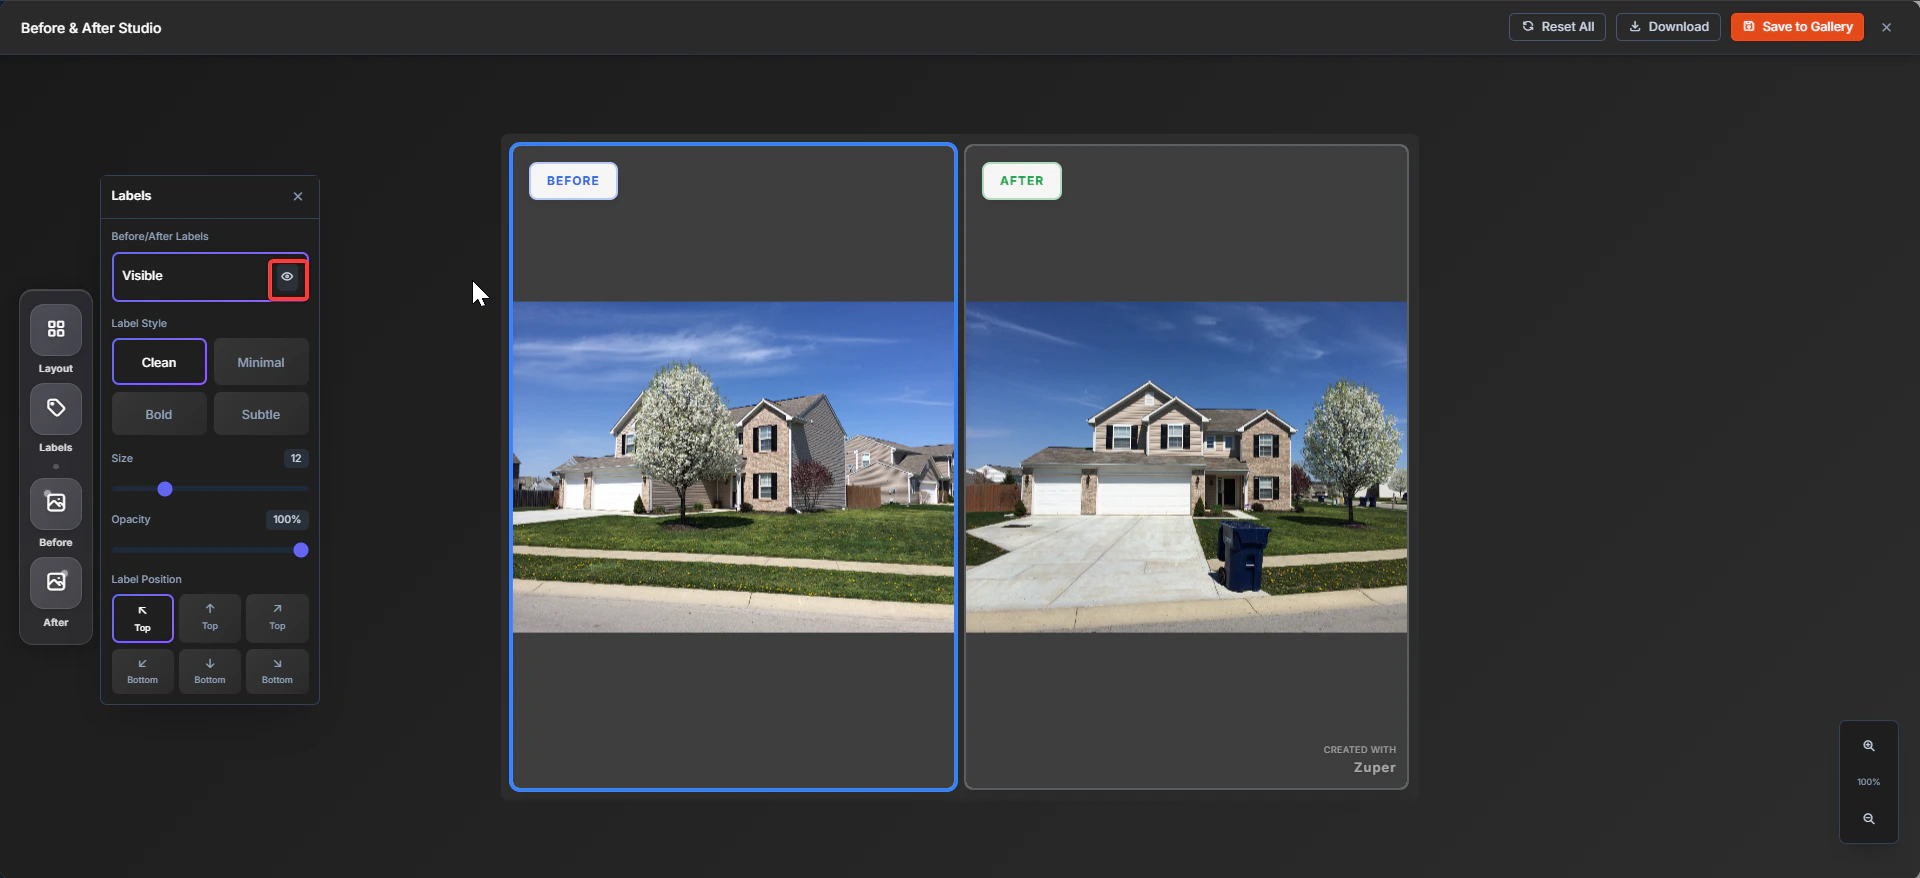
Customize labels
- Click Labels.
- Visible – You can view the labels or hide the labels.
- Label Style (Clean / Minimal / Bold / Subtle).
- Size.
- Opacity.
- Label Position (top/bottom placements).
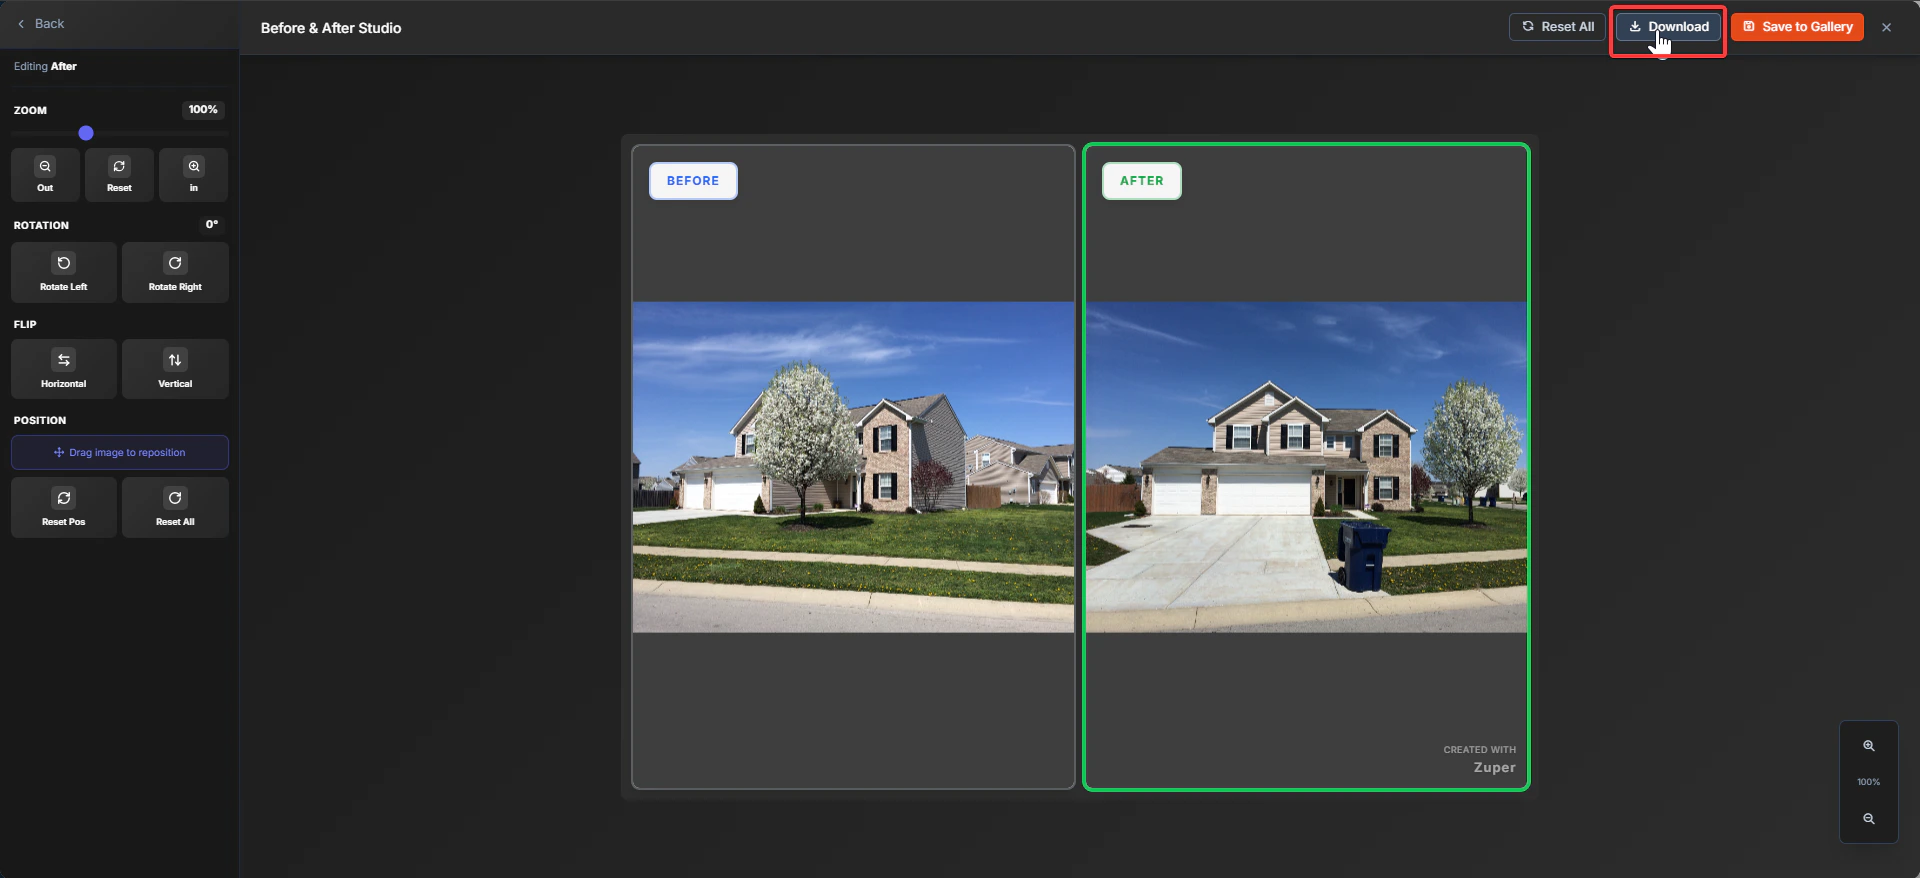
Adjust the Before/After images
Click Before or After on the left toolbar to choose which frame to edit. Use the editing controls to align your photos:- Zoom (slider + zoom in/out/reset).
- Rotation (rotate left/right).
- Flip (horizontal/vertical).
- Position (drag the image to reposition).
- Reset Pos (resets only position).
- Reset All (resets edits for that side).
Save, download, or reset
Reset everything- Click Reset All (top-right) to clear the studio changes.

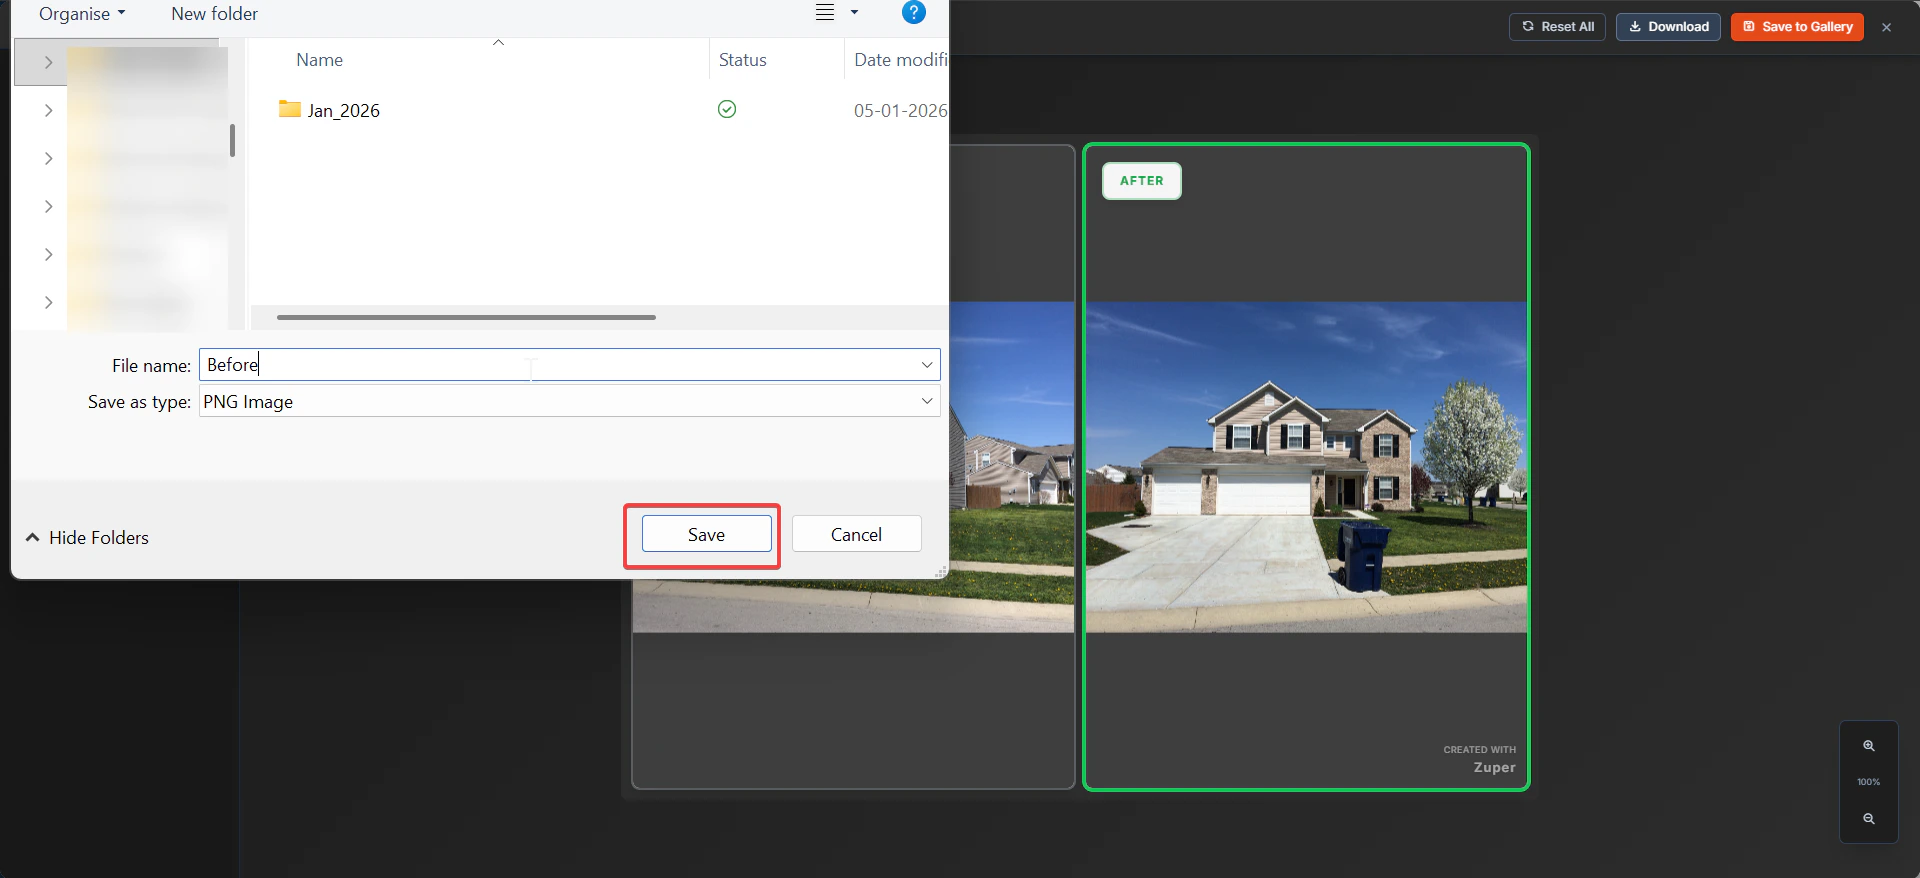
Download the Before & After image
- Click Download (top-right).
- In the file save dialog, choose a location and click Save.
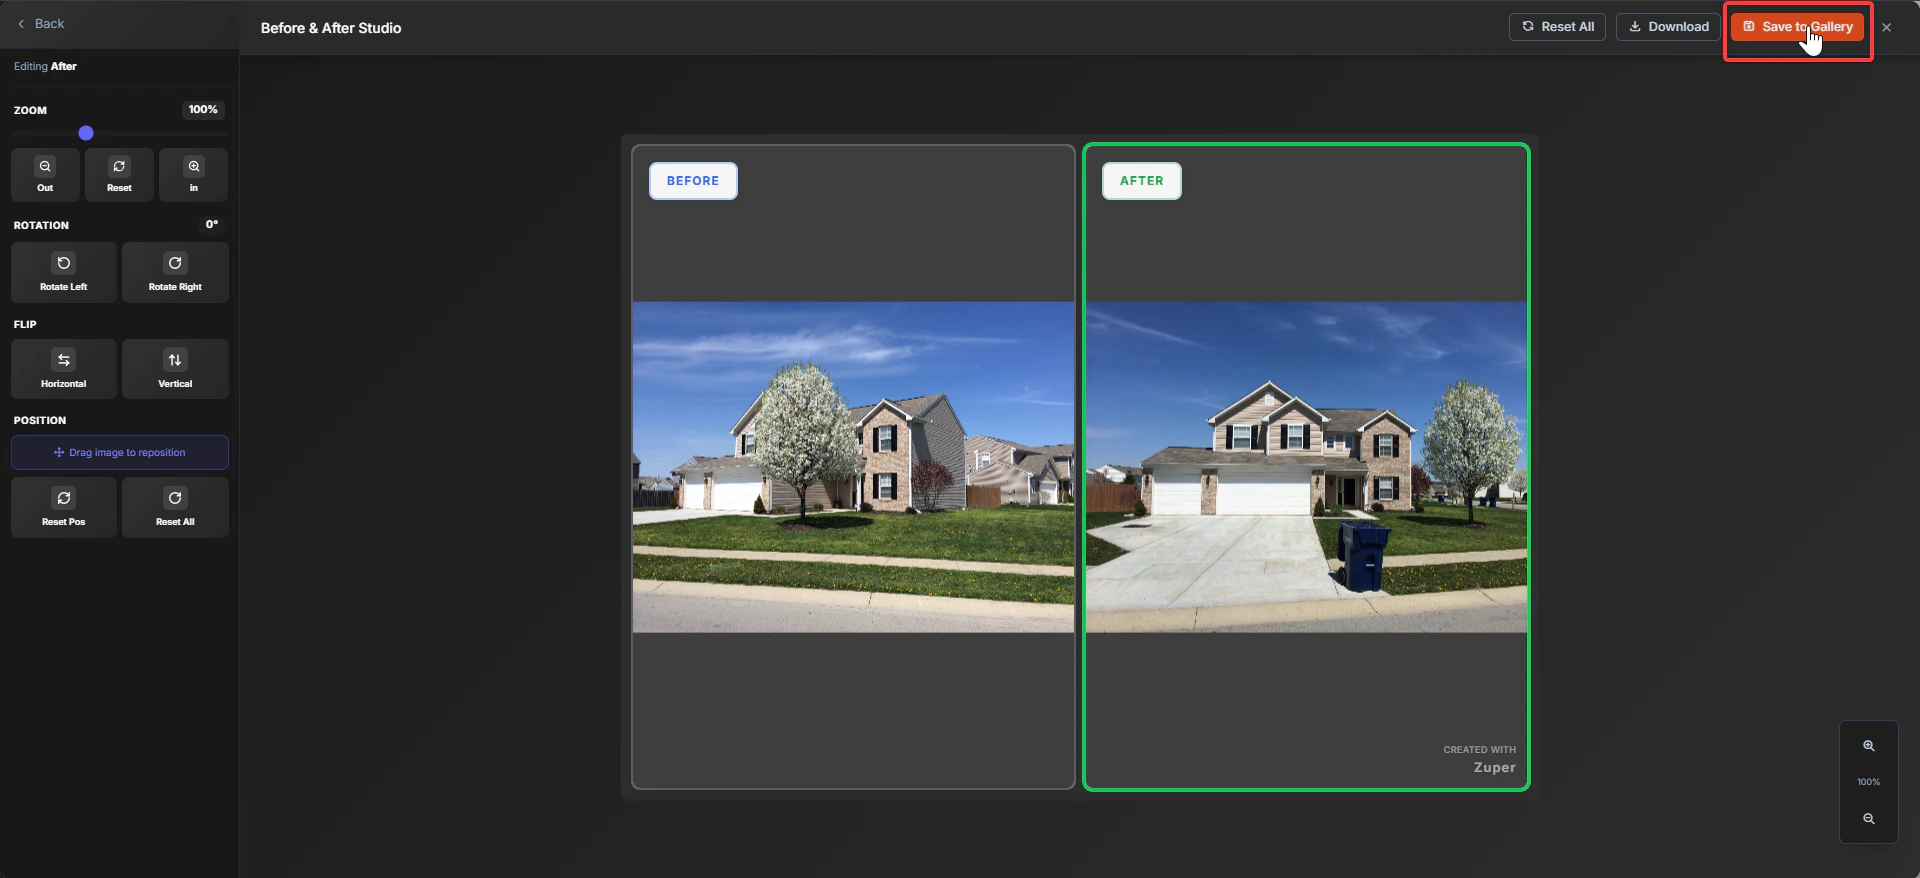
Save to Gallery
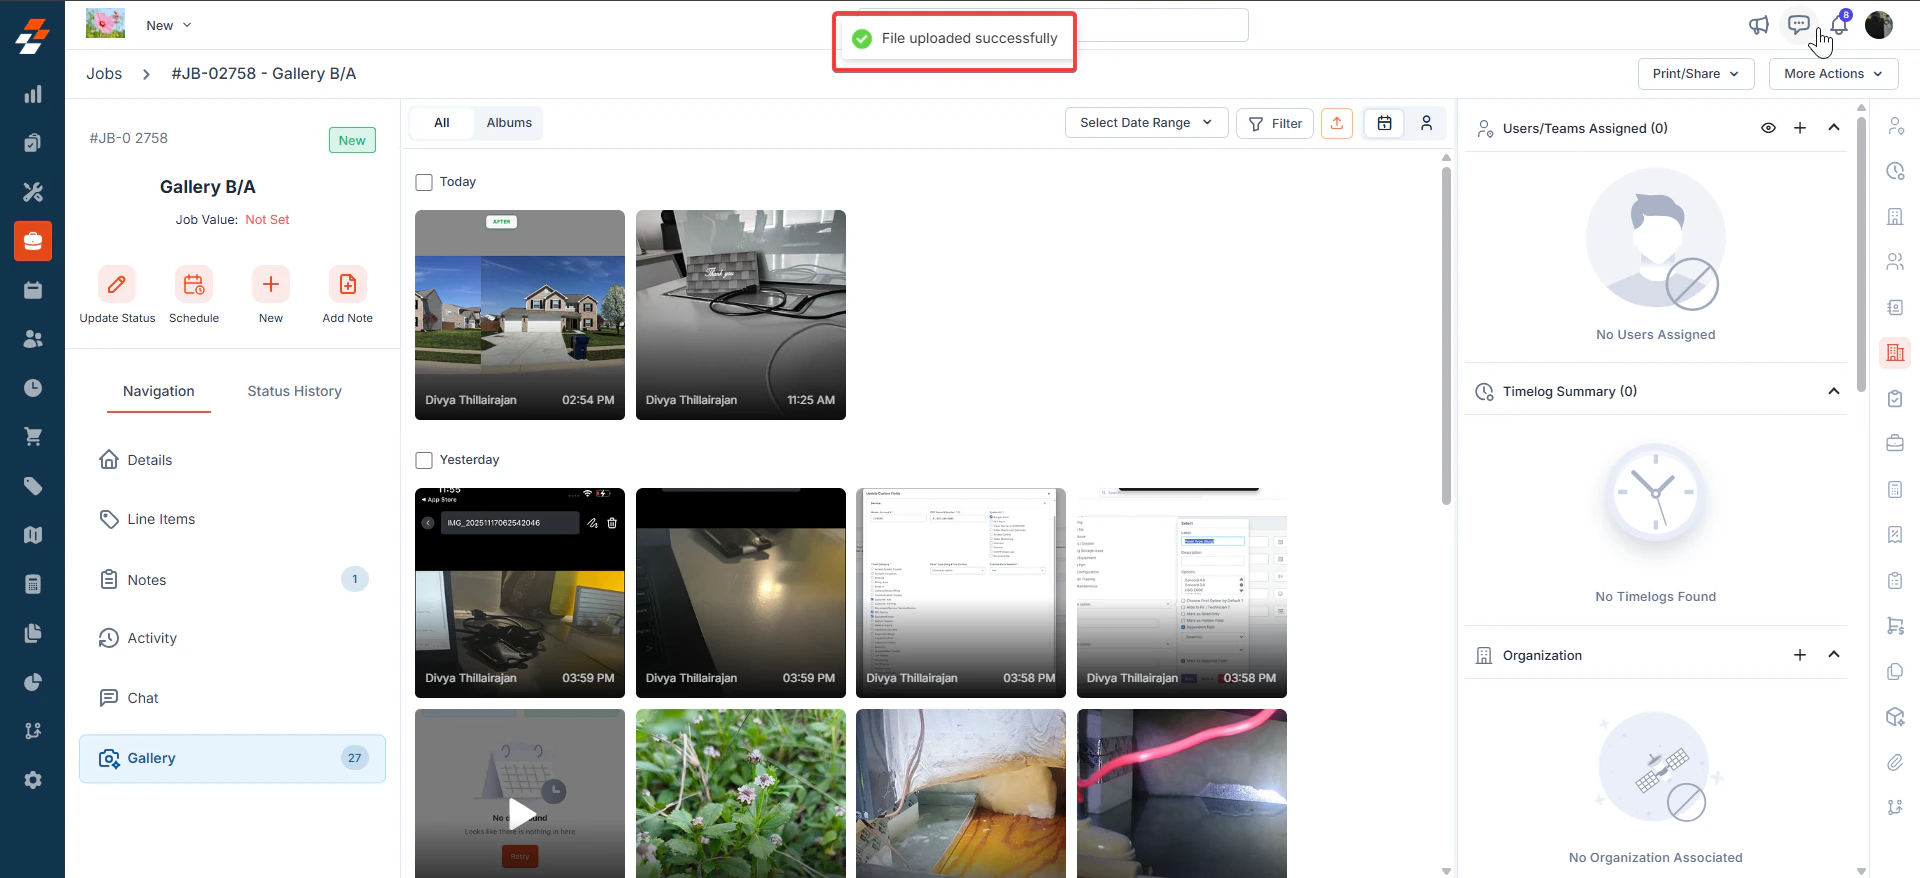
- Click Save to Gallery (top-right).
- After saving, you’ll see a confirmation message: “File uploaded successfully”.
- The generated Before & After image appears in the job’s Gallery as a new image.
- Click Back (top-left). If there are unsaved changes, a dialog box prompts you to confirm:
- Cancel to continue editing
- Discard Changes to exit without saving.

Troubleshooting
- I don’t see the “Before & After” button
- The Before and after photos don’t line up
Frequently Asked Questions (FAQs)
- What is a Before & After image in Zuper Gallery?
Note: The before and after option is not available in Photo Feed.
- Where do I find the “Before & After” option?
- Why can’t I see the “Before & After” button?
- You selected fewer than 2 images, or
- You selected more than 2 images
- Can I choose which photo is “Before” and which is “After”?
- Yes. In Before & After Studio, you can set and edit each side using the Before and After tools in the left toolbar. You can also swap both images during editing.
- What layouts are available?
- Side by Side View
- Top & Bottom
- Can I hide or change the “Before” and “After” labels?
- Toggle label Visible on/off
- Change Label Style
- Adjust Size, Opacity, and Position
- How do I align the two photos so they match?
- Zoom (zoom in/out)
- Position (drag to reposition)
- Rotation (rotate left/right)
- What does “Reset All” do?
- What happens when I click “Save to Gallery”?
Note: The newly created before and after images will be created as separate images, whereas the original images will be intact.
- What happens when I click “Download”?
- What file type is downloaded?
- Can I leave the studio without saving?
- Will creating a Before & After delete or change my original photos?
- Who can create or save Before & After images?
- Can I edit a saved Before & After image later?